The Health Insurance Portability and Accountability Act (HIPAA) defines Protected Health Information (PHI) as any information that can be used to identify a patient. PHI copies in electronic forms, such as digital medical records stored in computers, are electronic PHI, or ePHI.
The HIPAA Security Rule mandates technical, administrative, and physical safeguards to protect ePHI. Failure to protect ePHI due to a lack of appropriate safeguards will result in a substantial amount of fines and penalties.
PHI could be anything related to health, treatment, or billing information that can be used to identify a patient. For example:
- Name
- Dates (e.g. date of birth, date of treatment)
- Location (street address, zip code, etc.)
- Contact numbers (phone number, fax, etc.)
- Web contact information (email, URL, or IP)
- Identifying numbers (Social security, license, medical account, etc.)
- Biometric identifiers (photo, fingerprints, etc.)
Healthcare organizations typically hold thousands of ePHI on hundreds of computers and systems. While complying with the HIPAA law is complex as it is, keep track of all devices that hold ePHI can be a painful proposition, let alone implementing safeguards for each device.
Step-by-step guidance on how to load all ePHI-containing devices into the app
The HIPAA Security Rule requires you to implement appropriate safeguards. But first, you must determine which devices can be considered as a workstation.
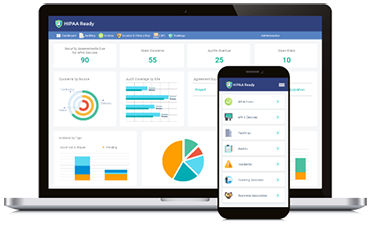
And we have simplified the entire process for you. With HIPAA Ready, you will be able to track all devices containing ePHI data.
This module enables employees to load the respective ePHI devices they are using, enabling managers and administrators to manage these devices and ensure they meet HIPAA security requirements. Employees have access to the necessary steps they need to take when disposing of or passing on a device for reuse to ensure they remain in compliance with HIPAA procedures and practices.
So here’s how you load ePHI devices into HIPAA Ready.
Step 1: Click on the ePHI Devices icon on your main menu. This will take you to the “Devices” page, where a list of devices that have already been logged will be displayed. Click on the plus sign icon on the bottom right-hand corner of your screen to log a new ePHI device.
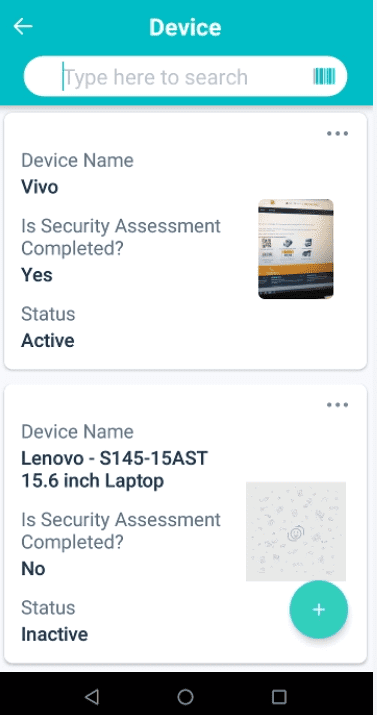
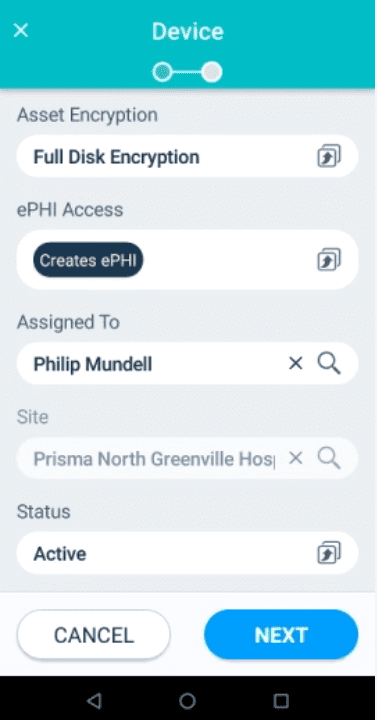
Step 2: This will take you to the “Device Information” page, where you will be required to fill in the following fields: upload a photo of your device, enter an asset ID number for your device, enter a device name, enter a barcode number or scan a QR code, select what type of electronic device you’re logging, select asset encryption, select the ePHI access, assign which employee the device is being utilized by and based on which employee is selected, the system will automatically generate the site where they’re working. Select a status – active, inactive, or disposed of – and then hit the “Next” button when you are done.
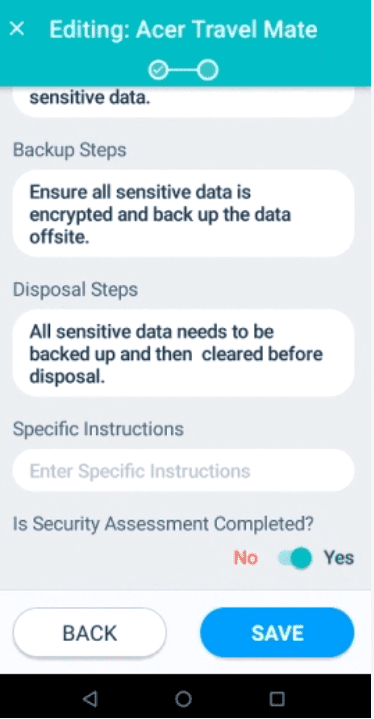
Step 3: This will take you to the “Security Assessment” page for the device you have just logged in to. Here you will need to fill in the reuse steps, backup steps, disposal steps, enter the specific instructions and toggle to either yes or no depending on if the security assessment has been completed or not. Once you’ve done all of this, hit the “Save” button.
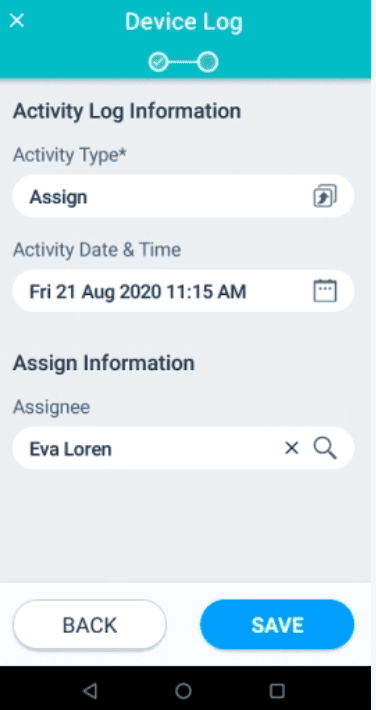
This will take you to the Details page of your device. To your right of the Details tab, you will see a “Device Log” tab. By clicking on this tab and clicking on the plus sign icon on the bottom right-hand corner of the screen, you can update the activity log information of the device for devices being assigned, reassigned, movement, disposal, ePHI Back-ups, and others. The date and time can also be recorded here. This enables managers and administrators to be aware of all ePHI device activity being conducted and ensure that their employees remain HIPAA compliant.
On the web-based app, managers and administrators can manage ePHI devices and view their respective activity logs to ensure employees are following the correct procedures and practices in line with HIPAA compliance. Managers and administrators will need to click on the Security and Privacy Management tab on the top menu of their dashboard and go to “Device Management” where they can either view the devices that have been logged by end-users by clicking on ePHI Devices to view the devices or click on Device Log to have an overview of all ePHI device activity that end-users have logged.
Get Started With HIPAA Ready Now
Having a clear picture of all the ePHI-containing devices makes it easy to implement appropriate safeguards to the respective devices and comply with HIPAA effectively.
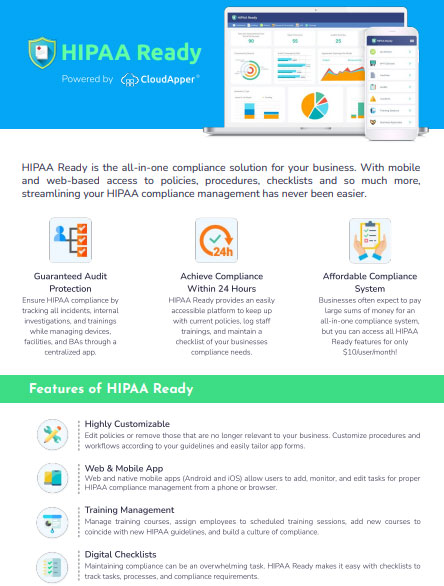
And it’s not just ePHI devices, you can manage HIPAA training, business associates, policies and procedures, incidents, and much more with HIPAA Ready.
It does not take much to get started with HIPAA Ready. With HIPAA Ready, safety is in your hands!
What is CloudApper AI Platform?
CloudApper AI is an advanced platform that enables organizations to integrate AI into their existing enterprise systems effortlessly, without the need for technical expertise, costly development, or upgrading the underlying infrastructure. By transforming legacy systems into AI-capable solutions, CloudApper allows companies to harness the power of Generative AI quickly and efficiently. This approach has been successfully implemented with leading systems like UKG, Workday, Oracle, Paradox, Amazon AWS Bedrock and can be applied across various industries, helping businesses enhance productivity, automate processes, and gain deeper insights without the usual complexities. With CloudApper AI, you can start experiencing the transformative benefits of AI today. Learn More

